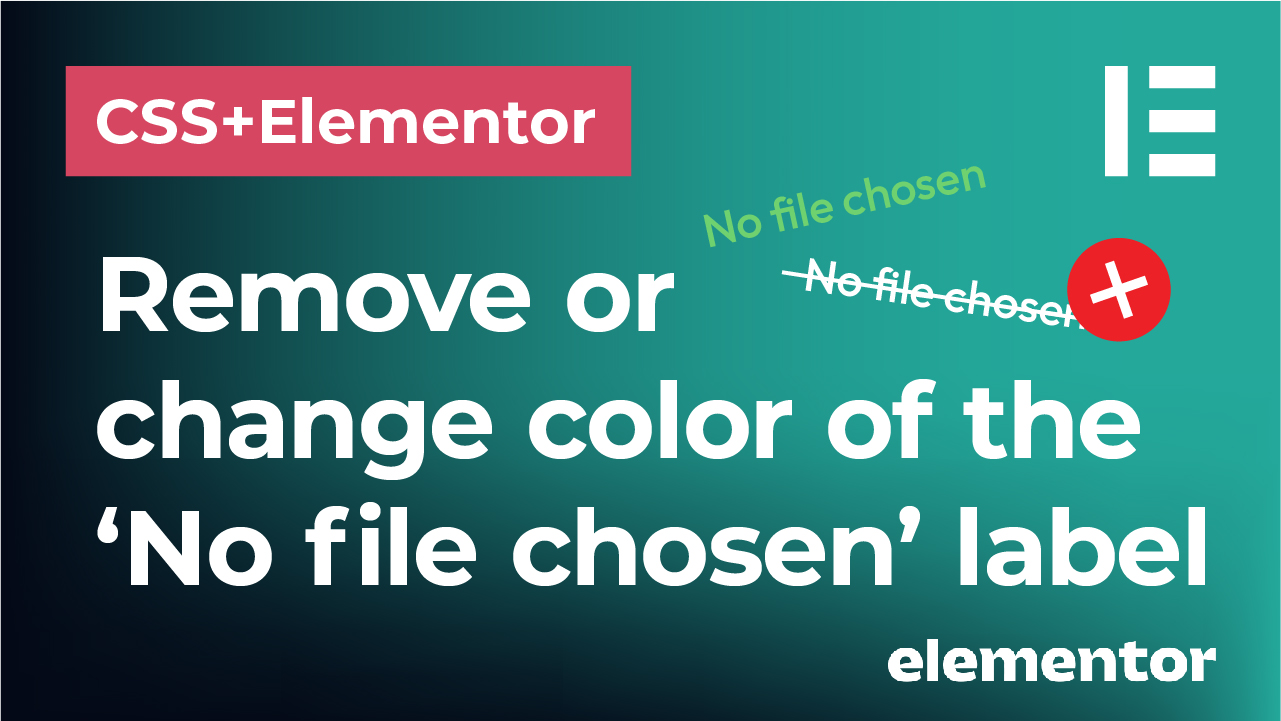
In this tutorial, we will see how to change the color or completely remove (hide) the ‘No file chosen’ label from Elementor forms using CSS.
Check the video below or continue reading this post!
Create a form using a ‘form’ widget in Elementor
First, use a ‘form’ widget to insert your form. Head over to the ‘Content’ section of the widget and add a few basic simple fields. I am adding text fields for name, email and message, but you can add any fields you like. Then add another field and in the ‘Type’ dropdown, select ‘File upload’. Click on ‘Update’ button to save your changes.
Install and activate the plugin for the CSS code
Now is the time to add CSS code and do some styling. I am using Elementor Pro, that you can purchase by linking on the banner below, but I am still adding my code using a CSS plugin.

I am using a Simple Custom CSS and JS plugin to insert my custom CSS code. It is very easy to use and completely free!
You can check one of my previous posts on best WordPress plugins featuring this CSS plugin as well.
Add a CSS class to your form
Once you install and activate the plugin, go to your form and switch to the ‘Advanced’ tab. In the ‘CSS classes’ field within the ‘Layout’ section, assign a CSS class name to this form.
This can be any name you want, just make sure NOT to include a dot (“.”) at the beginning or any spaces. I am using the name ‘upload-form’. After this, click on ‘Update’ to save the changes.
The reason to use a CSS class for your form is to simply be able to apply the following changes and styling ONLY to this particular form or any form that you give this class to. That way you can control the styling and the look of multiple forms directly from CSS, from a single place. Also, maybe you will have different forms on your page that you want to look differently, so you can easily control this by assigning them different classes and styling them differently in CSS.
Start adding the CSS code
To change the color of the label, simply add the following CSS code below in your CSS plugin. Don’t forget to change the ‘upload-form’ name to any class name that you gave to your form in the steps above. You can customize the color to any value you want (for example hex values that start with ‘#’).
.upload-form .elementor-field-type-upload input[type="file"]{
    color: red !important;
}
To completely remove or hide the label, add the following CSS code below in your CSS plugin. Again, don’t forget to change the ‘upload-form’ name to any class name that you gave to your form in the steps above.
.upload-form .elementor-field-type-upload input[type="file"]{
    font-size: 0px !important;
}
Basically, we are hiding the label by giving it a font size of 0px.
That’s it!
Now you can simply apply the form class to multiple forms on your website and all this styling will automatically apply to all of them. And the best part is that you can control and change this styling from a single place in your CSS plugin!
*This post may contain affiliate links. If you click on a link and make a purchase, I will receive a commission from the sale, with no extra cost to you. That way you are supporting my blog and allowing me to keep making videos and posts like this. I only promote products that I use, have experience with and support, such as Elementor Pro.