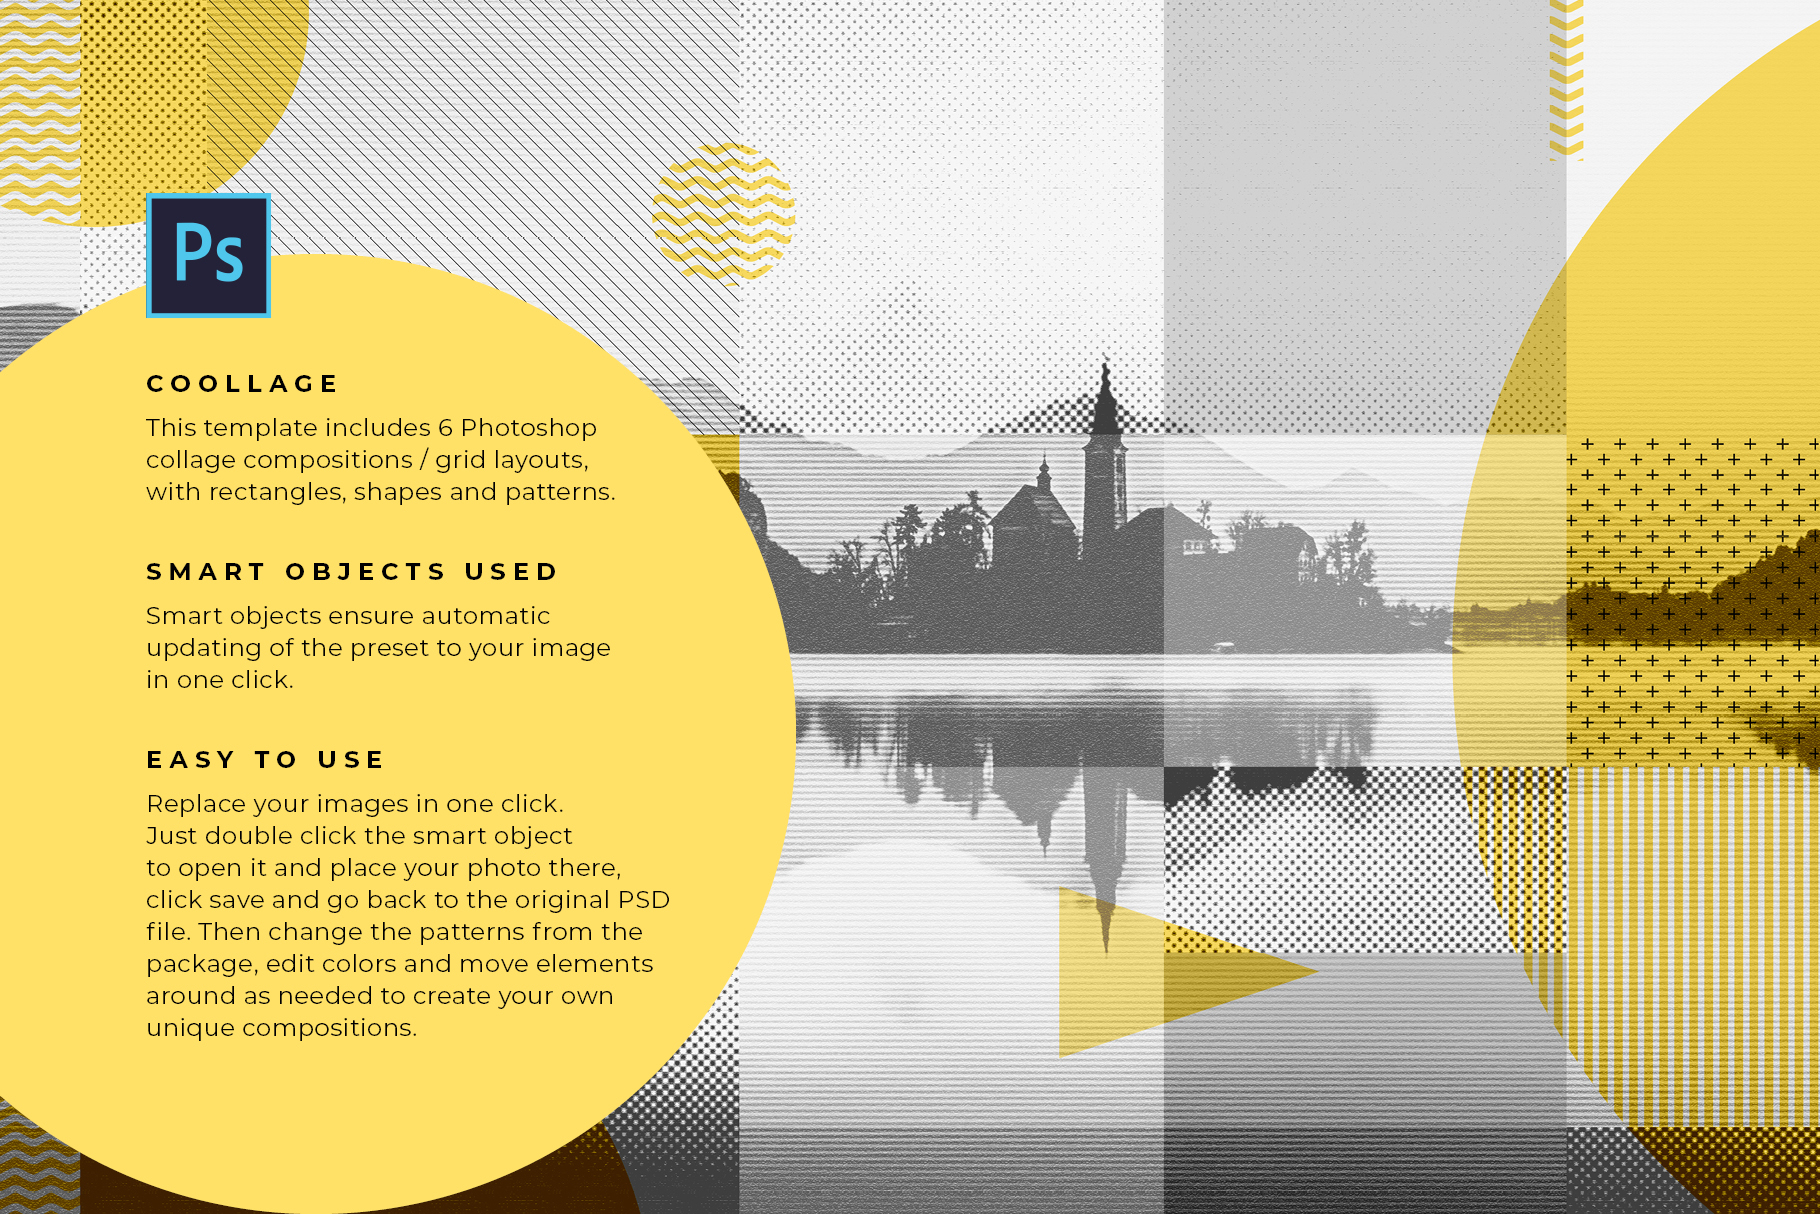
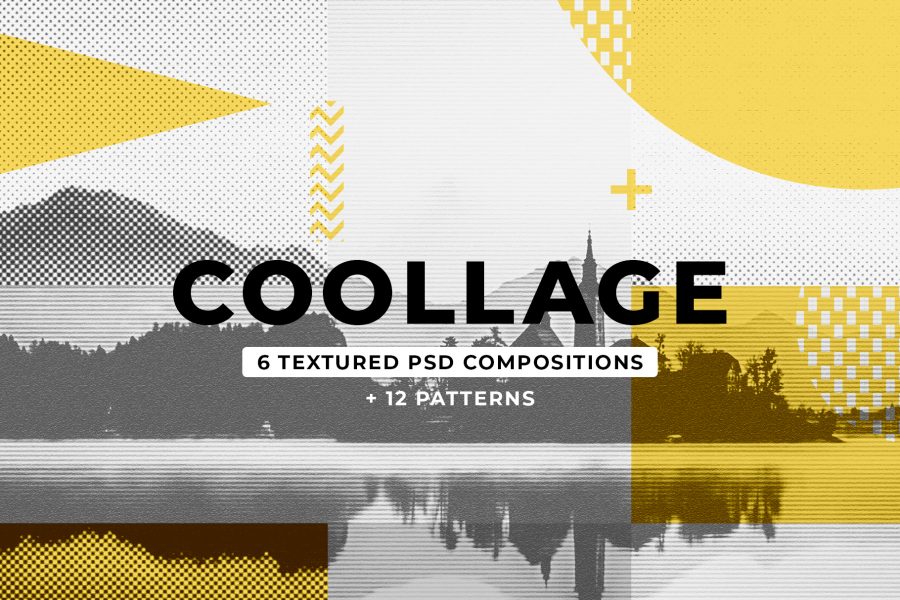
COOLLAGE Collage PSD Compositions
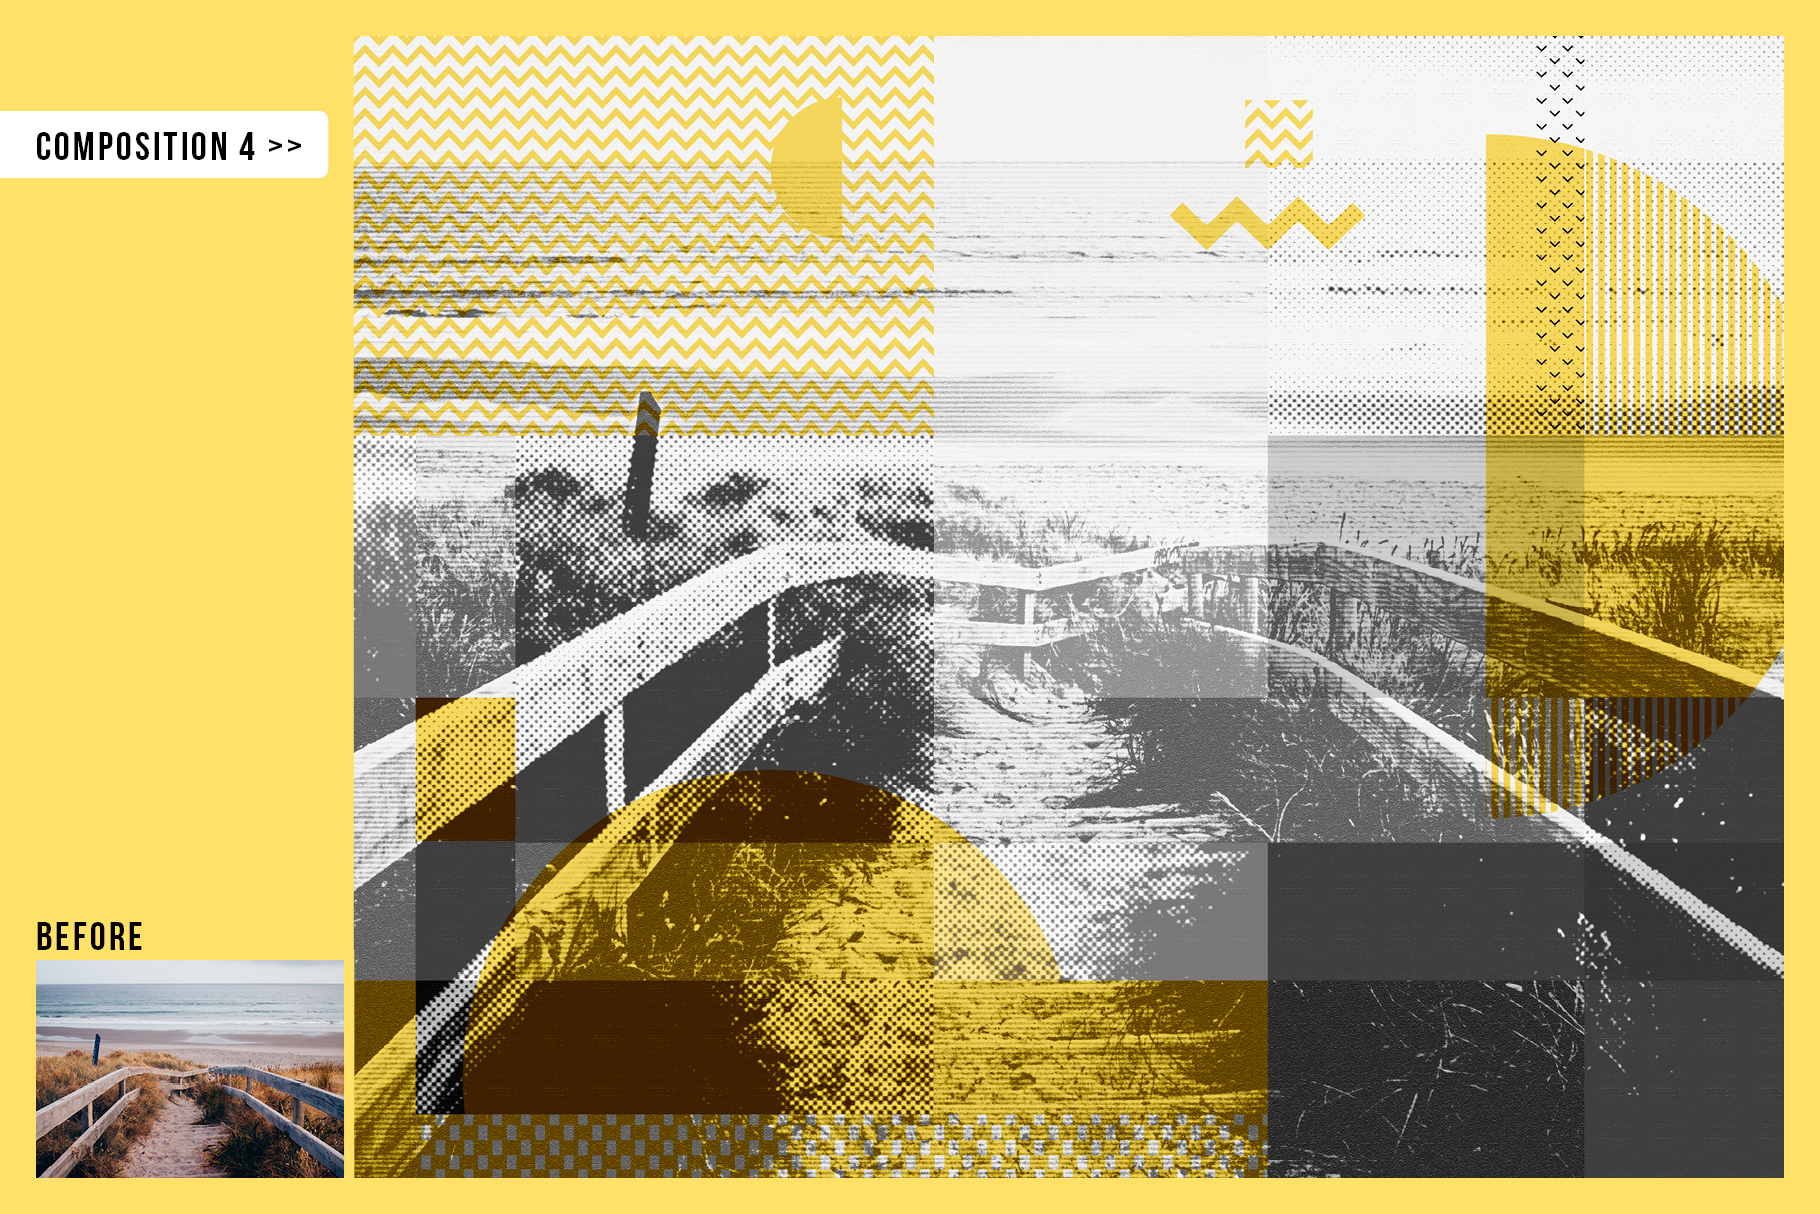
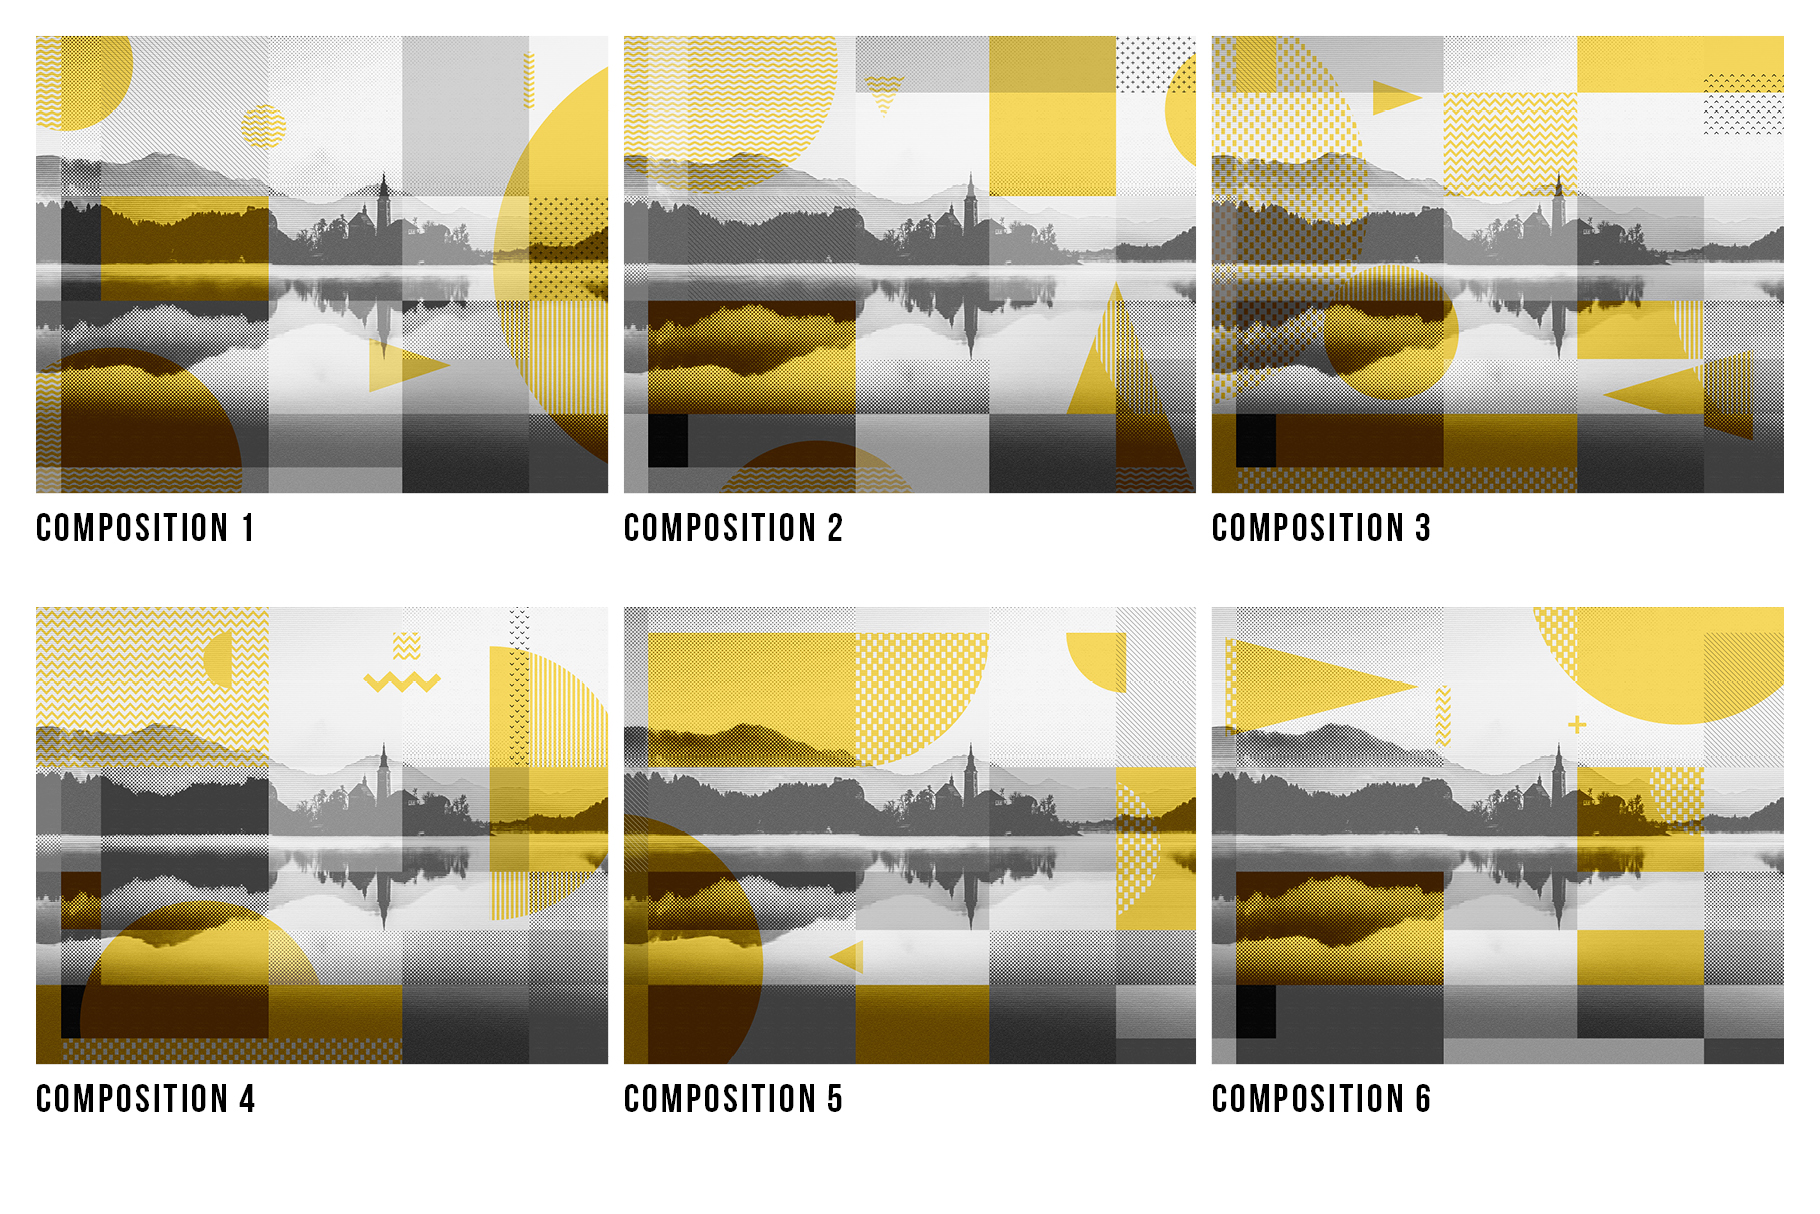
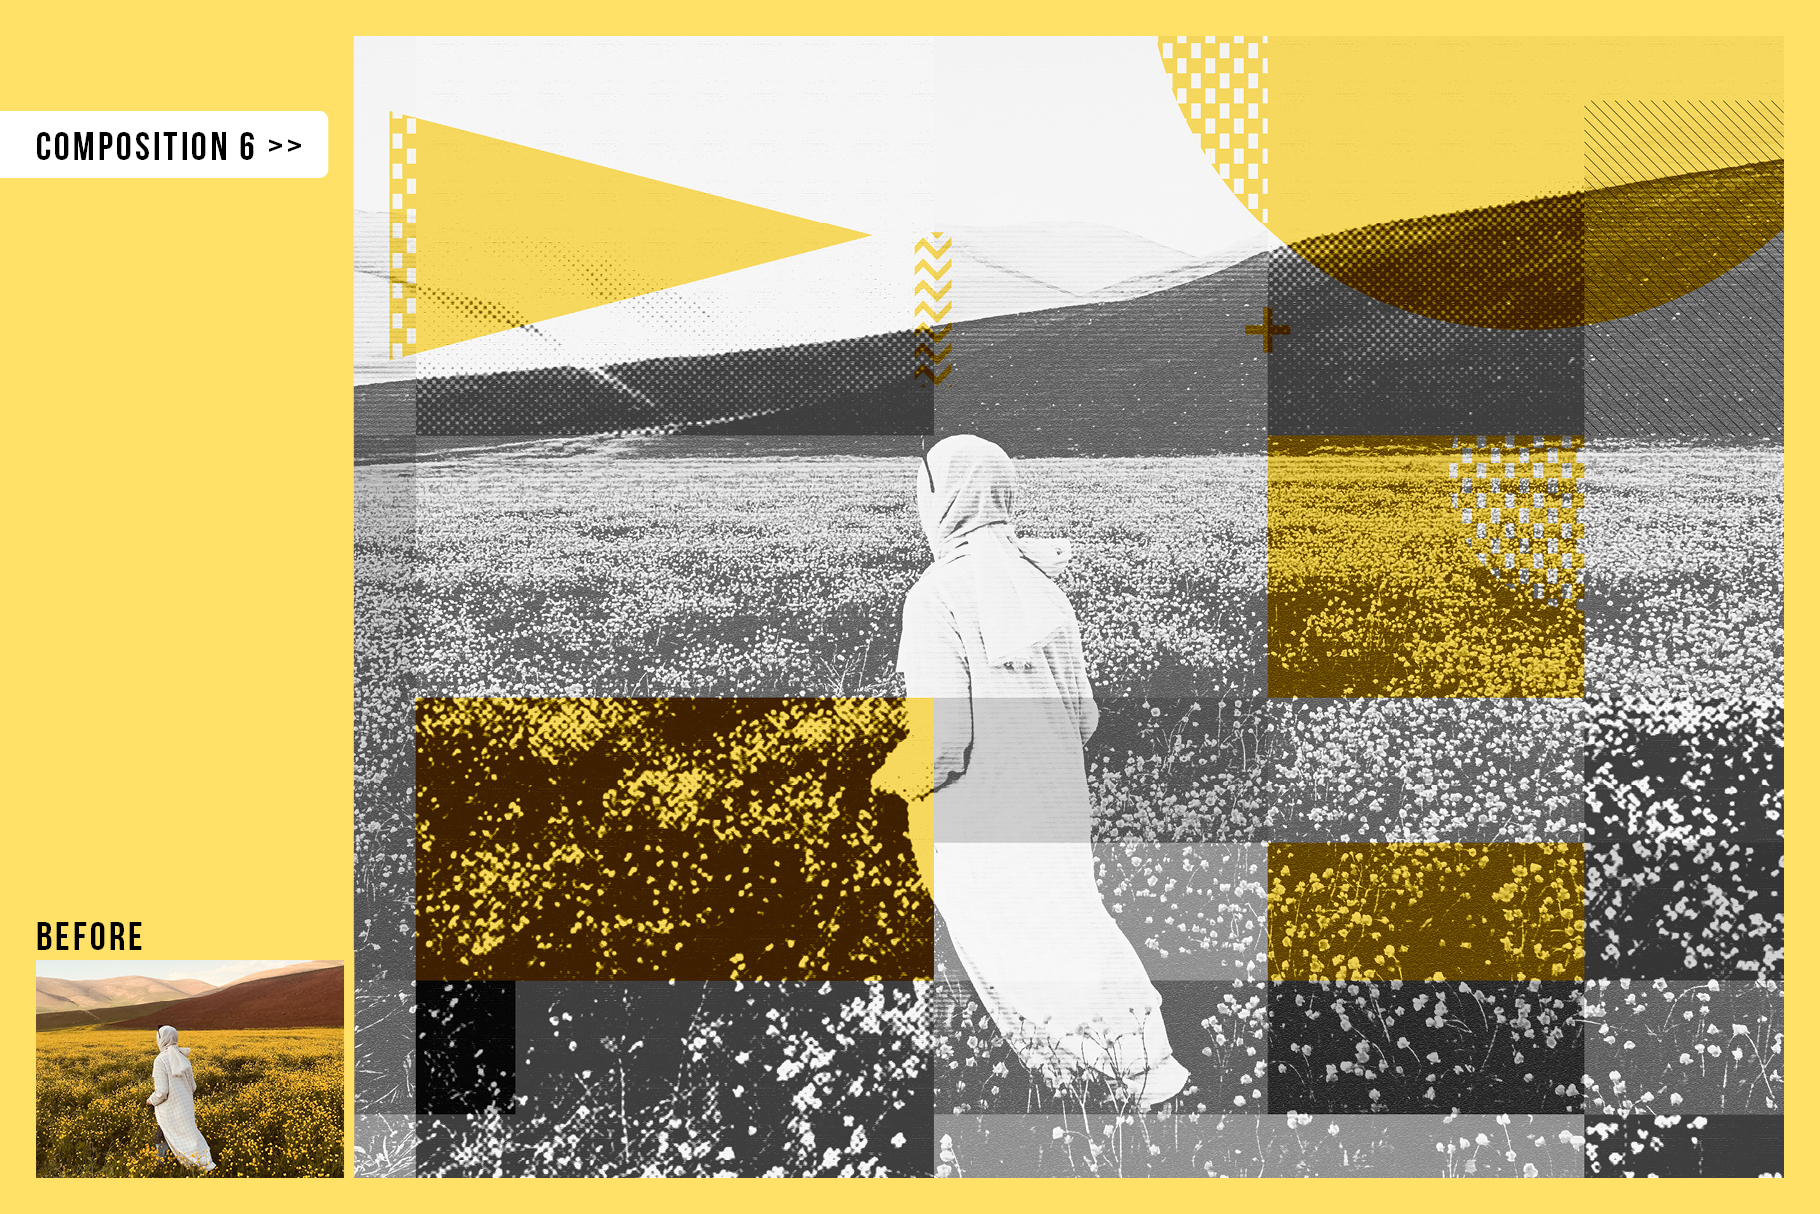
COOLLAGE overlaid collage PSD compositions is a cool, creative Photoshop effect that gives you 6 preset Photoshop compositions or layouts. This template creates a collage effect with overlaid transparent rectangles and squares, placed carefully in a grid. Then some more shapes including triangles, circles and semi-circles on top of that, as well as linear patterns and halftone textures covering certain portions of the compositions. Some patterns are vertical thick lines, waves, zig-zag, triangles, dots etc.
The effect works with portrait, landscape, architecture photography or any other kind of images. It has a slightly retro / vintage look to it.
The image is set to black and white with overlaid shapes and patterns in accent color that you can easily change using Hue and Saturation slider. Overlapping yellow color boxes in the preview are just a default color – you can change it to any color / shade you like.
All you need to do is place your image and choose the preset composition you prefer.
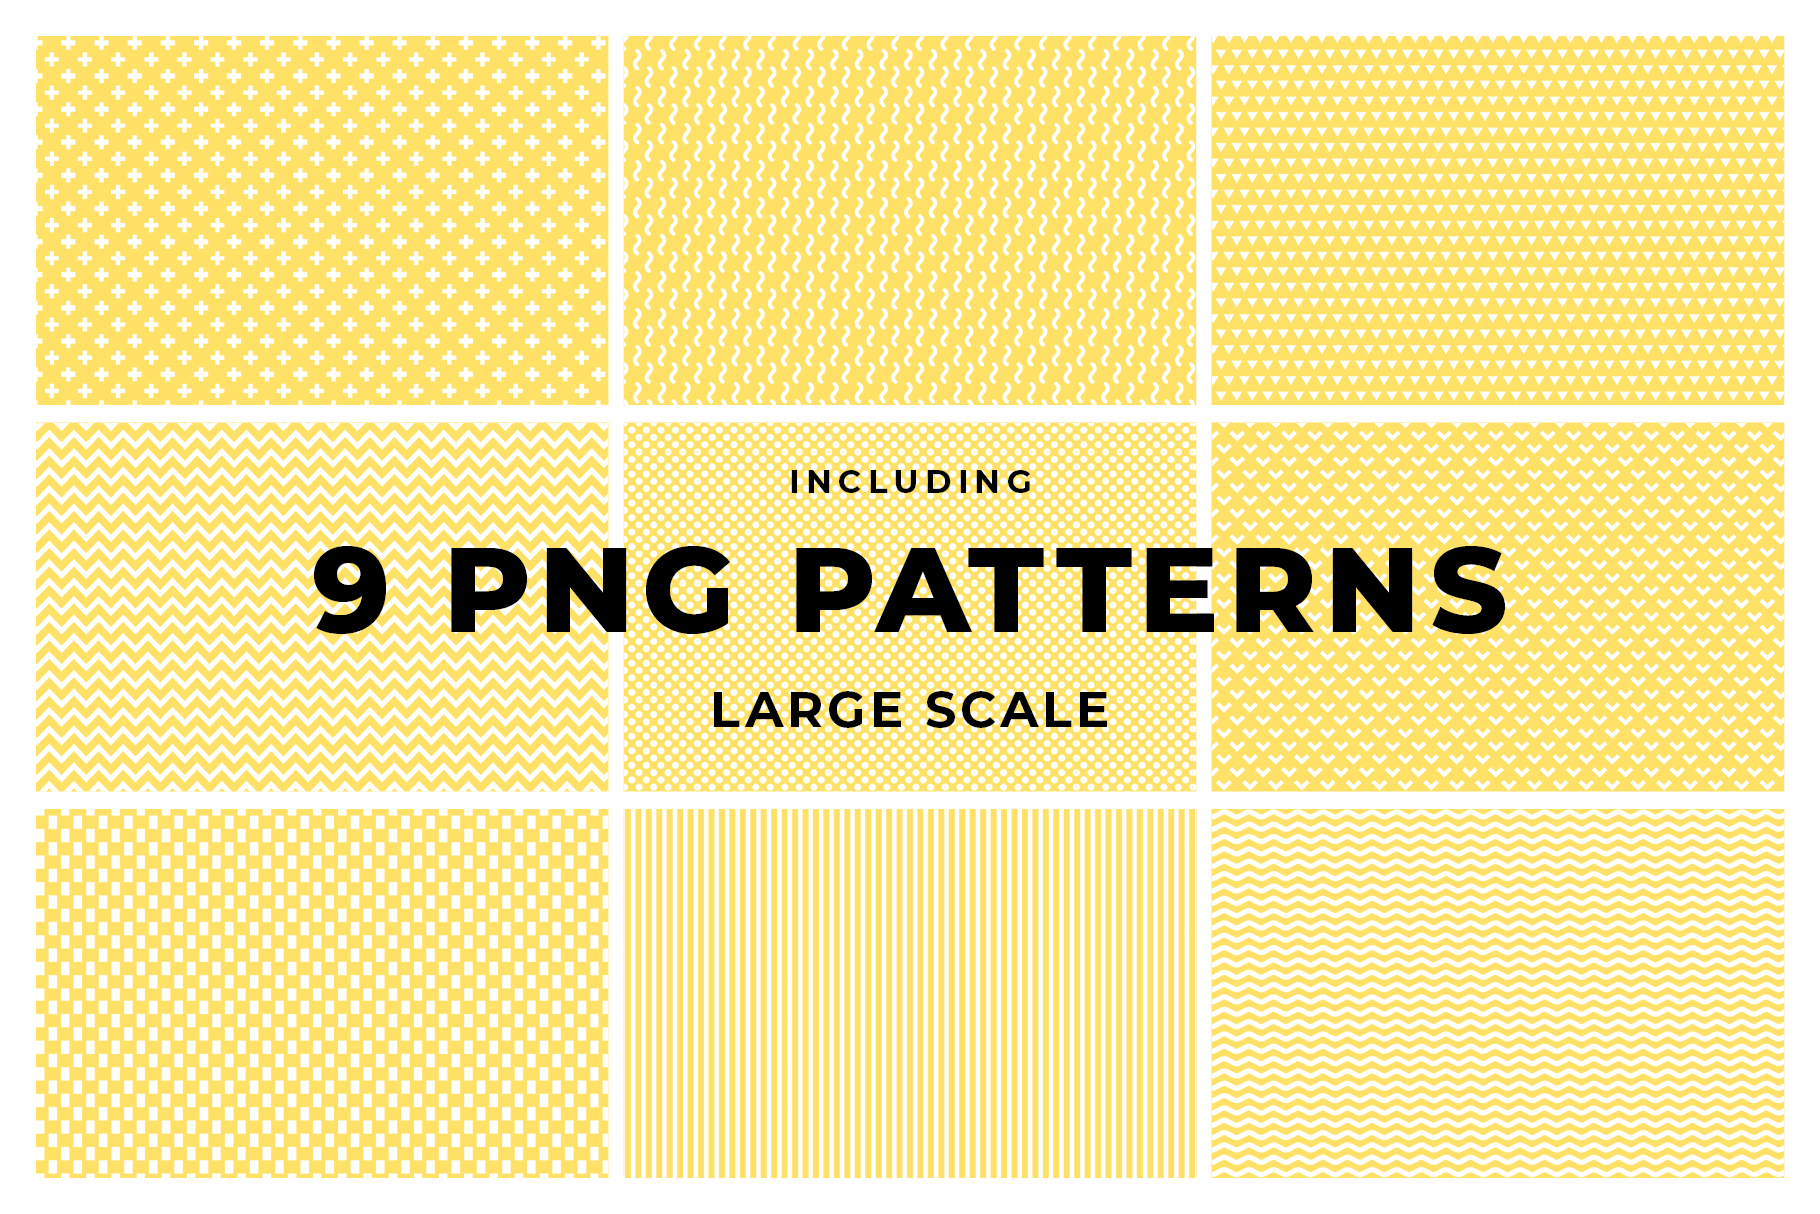
The package includes 9 large scale patterns and 3 small scale patterns for you to choose from and create more variations of the design.
You will get 1 PSD file (CS6 and higher), 9 PNG large scale patterns, 3 PNG small scale patterns and a PDF tutorial with a link to a video tutorial as well.
Get the file here.
File specifications:
Size: 4000 x 3200px
300 dpi
PDF tutorial with the link to the video tutorial is included in the package
The file is very easy to use:
1. Open the Photoshop file you downloaded
2. Double click the smart object layer
3. Drop your image in this smart object
4. Save the smart object and go back to the original file
5. Choose your composition
6. Replace the pattern layers as needed
7. Move the elements if necessary
8. Change the color
Enjoy!


Reviews
There are no reviews yet.