
Related products
-

PINK GLOSS 3D Shiny Text Effect
Add to cart -
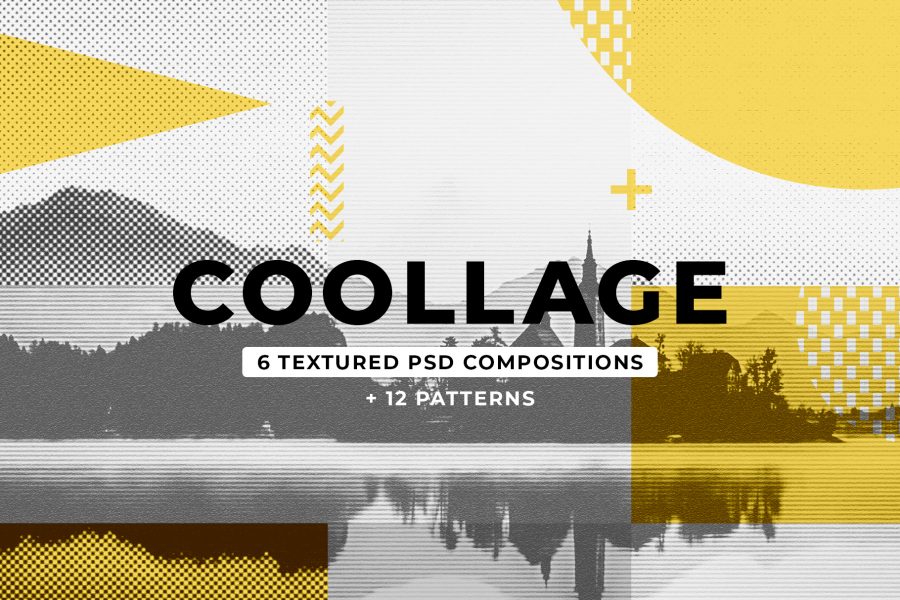
COOLLAGE Collage PSD Compositions
Add to cart -

METALLICON 3D Cinematic Text Effect
Add to cart -
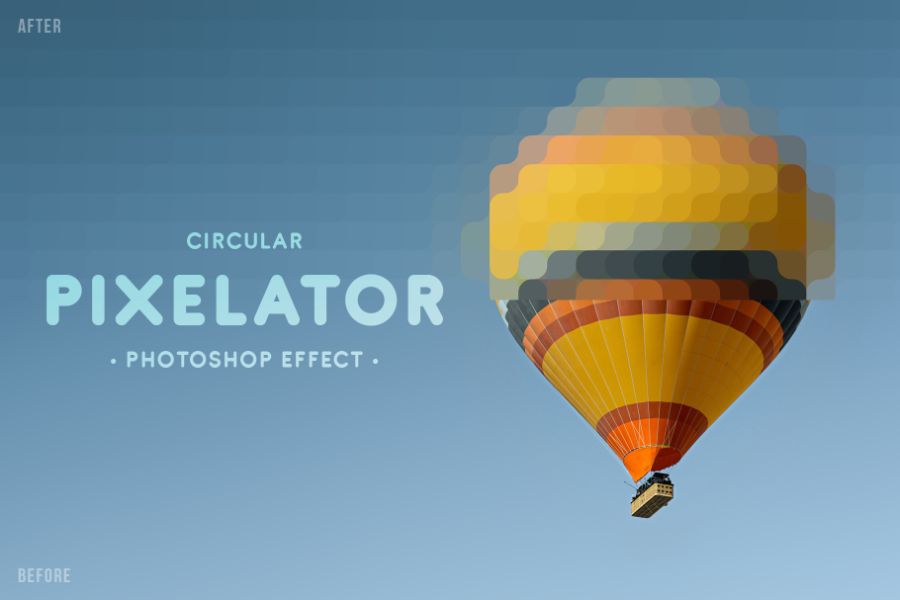
PIXELATOR Rounded Pixel PSD Effect
Add to cart -

RISOGRAIN Flattener Photoshop Effect
Add to cart -

WIND Motion Blur Photoshop Effect
Add to cart -
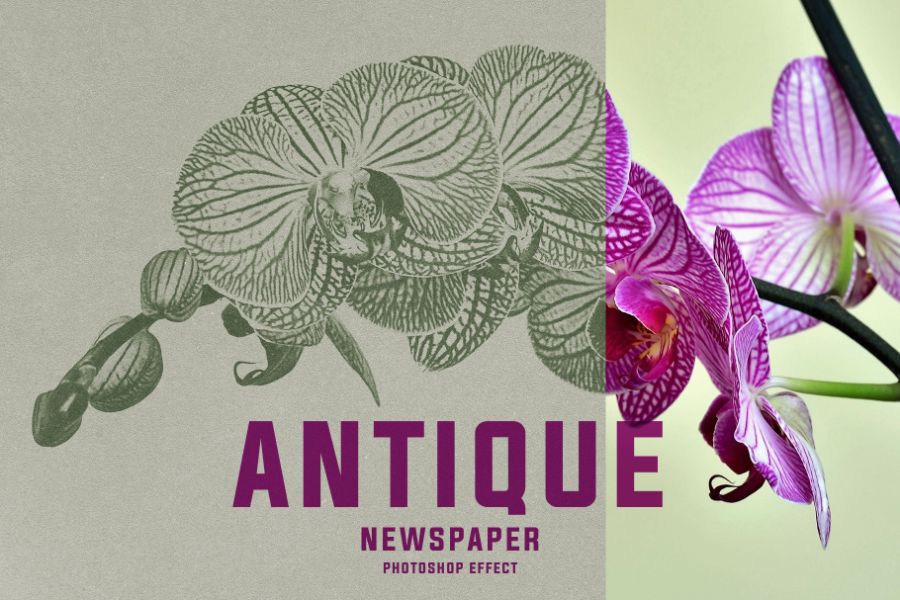
ANTIQUE Newspaper Vintage PSD Effect
Add to cart -
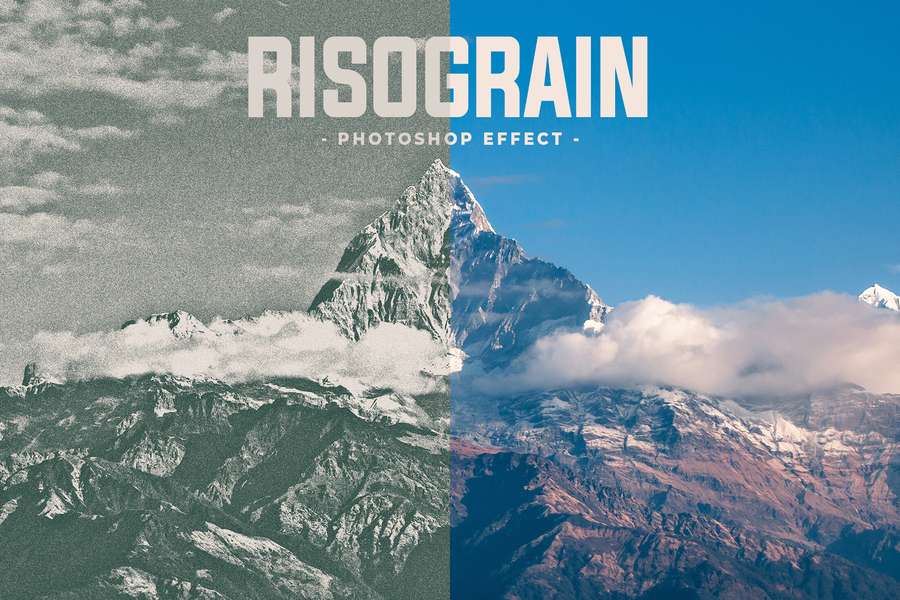
RISOGRAIN Vintage Photoshop Effect
Add to cart -
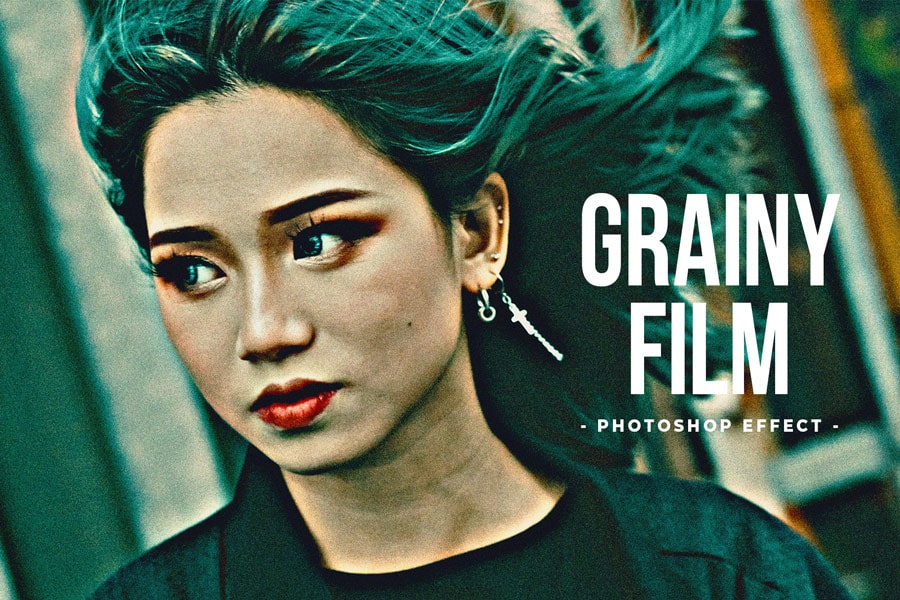
Grainy Film Poster Photoshop Effect
Add to cart

Reviews
There are no reviews yet.